This tutorial show the basics of TagFlow in its beta. The features described here are not exhaustive, some will be improved and others will be added later.
In this tutorial, we will describe a very simple use case with animals pictures. However, note that TagFlow is designed to handle any type of file.
If not yet done, go to this page to download TagFlow.
Windows : double-click the .exe installer that was downloaded to your Download folder.
Mac : double-click the .dmg file that was downloaded to your Download folder and drag the TagFlow app to the Application folder.
Windows : the application opens automatically after installation.
Mac : go to the Applications folder and double-click the TagFlow icon.
In both cases, the following window appears :
Authentication window
The first step is to indicate your contact information for your enrollment in the beta program. Your email address will be used exclusively as part of the TagFlow beta and you will be able to unsubscribe at any time and leave this program.
When done, click "Next" and learn about some important information about TagFlow and the beta. After a few seconds, you can start using TagFlow !
The introductory phase is over and you get the main TagFlow window.
Main window without files
You are now ready to organize your documents with TagFlow and its concept of structured and intelligent tags !
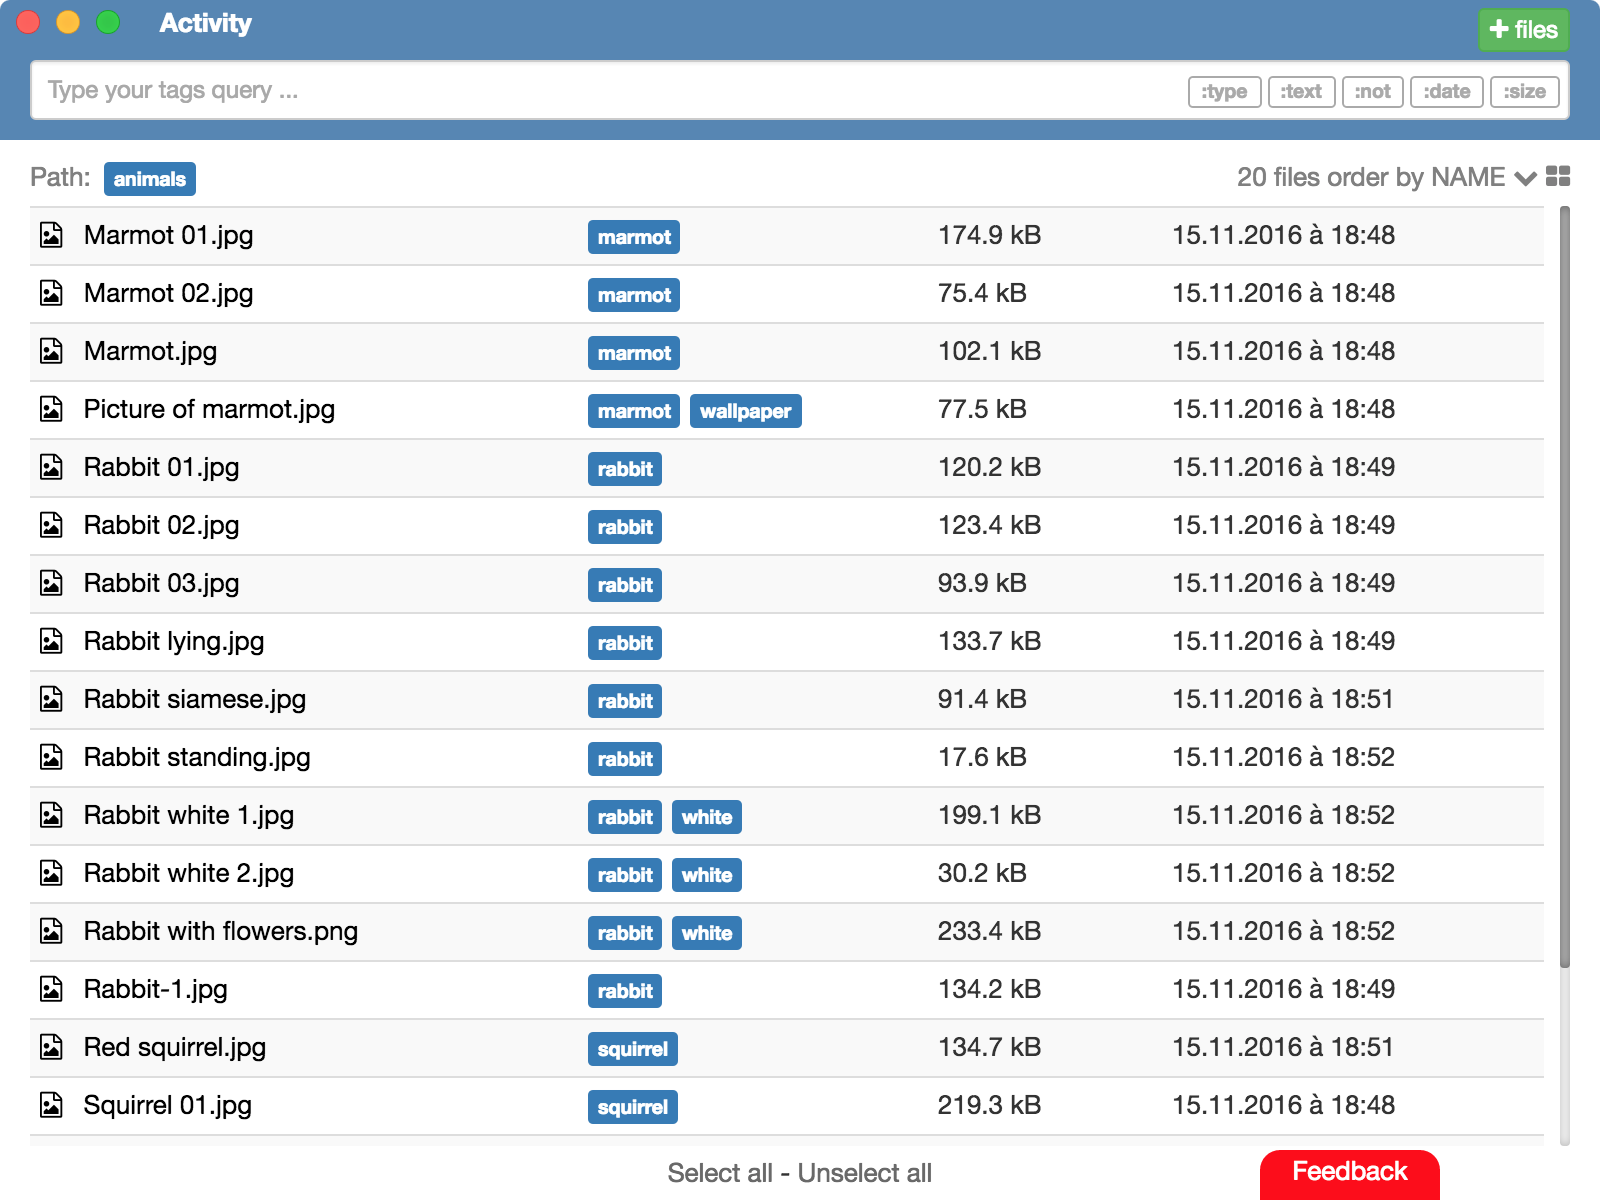
Before adding files to TagFlow, discover the important elements of the main view of the application !
TagFlow Main Window
The most important element of the application is the search bar :
Search bar
It contains: the search field used to enter the tags to be searched and the button which allows you to add files to TagFlow. We will learn more detail about these two elements and their operation further in this tutorial.
Just below the search bar is the navigation bar that also contains the display options :
Navigation bar with view options
The left part shows the current search that corresponds to the displayed files. This means that all files displayed in this window contain the tags shown after "Path". If all files contain one or more common tags, these tags will be seamlessly added to the search.
To the right are the display options with in order :
List of files displayed as a list
List of files displayed as a gallery
The third and last part of the main window contains the files that correspond to the search made in the search field. We have already seen that there are two views to display our files: list and gallery. In the list view, the columns respectively represent the name, tags, size, and modification date of the file.
There are still other features available for these views, but let's add some files first.
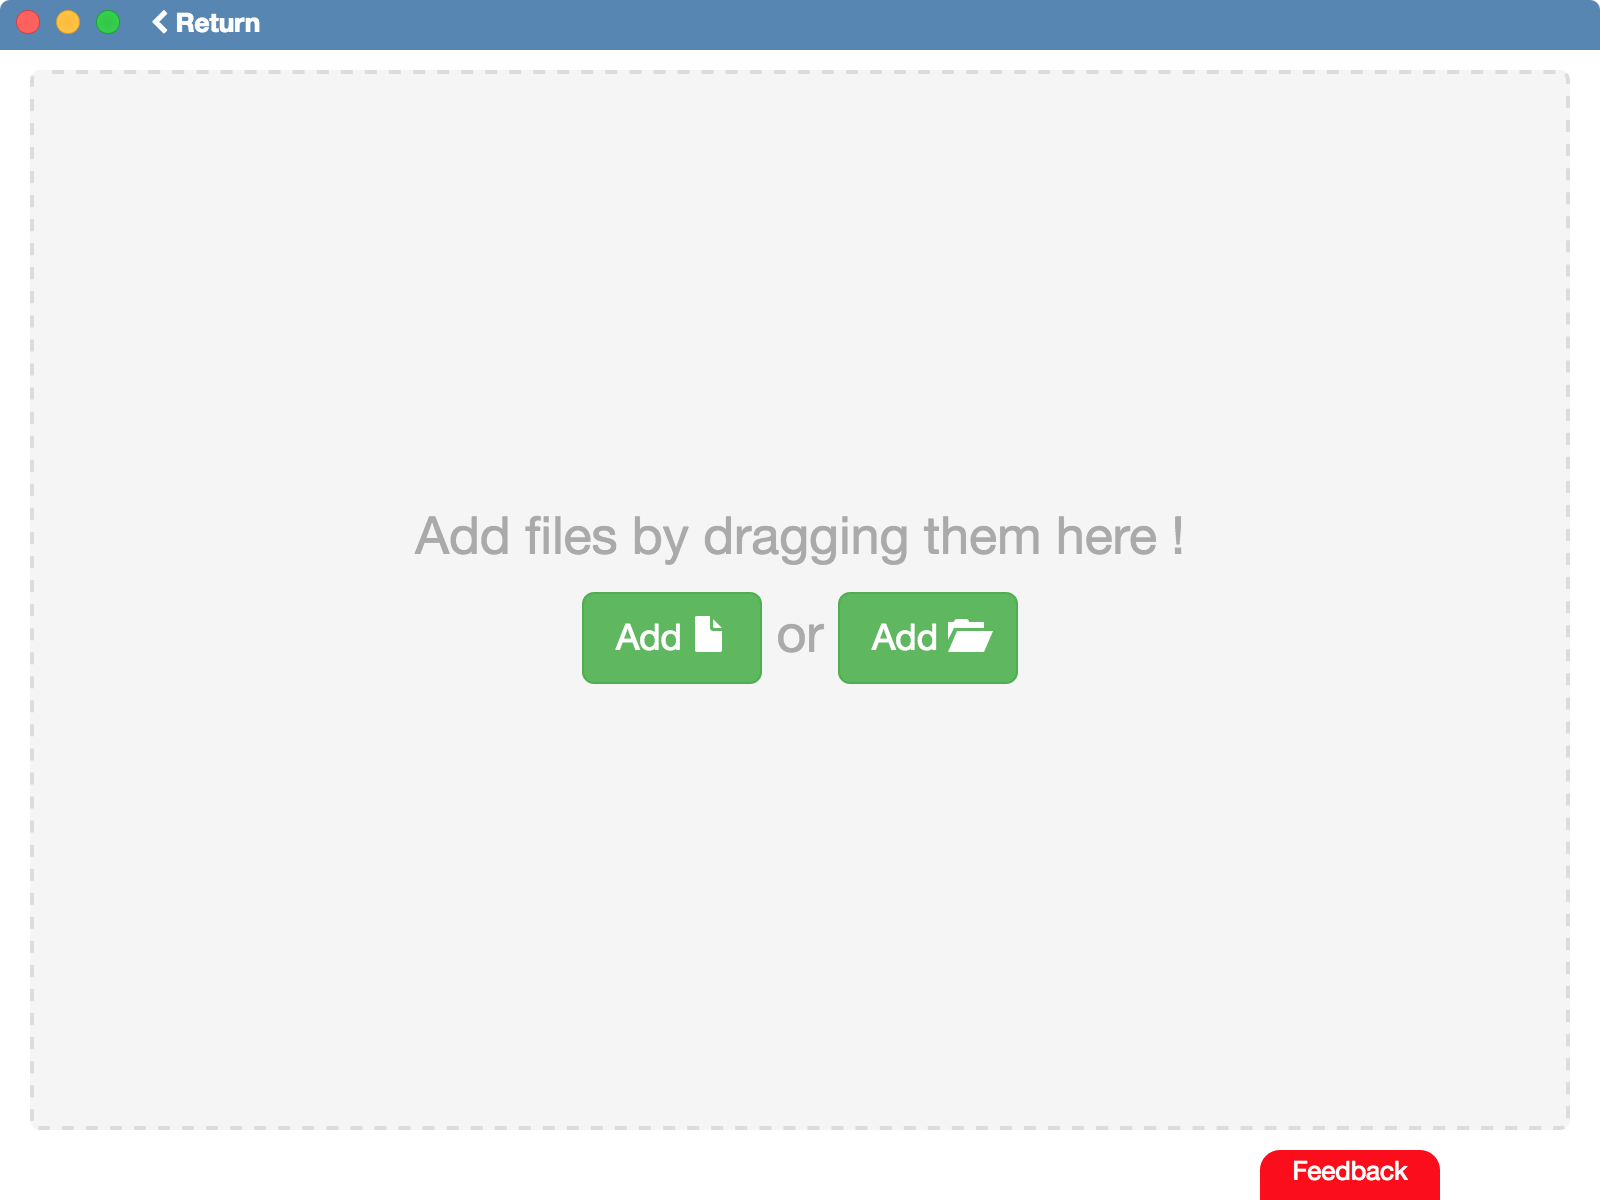
Now that you know the interface of the main page, let's go back where we left off and add some files.
To add files, click the button which is located at the top right of the main window. It is also possible to go through the "files" menu, then select the "add files" item.
If you are on a Mac, a popup that allow you to select files and/or folders opens. If you're on Windows and Linux, you get the following window and must follow one more step :
Selection window for files to be added
To select the files you want to add, you have several options :
All these steps can be replaced by dragging the files/folders you want to add directly to the main window !
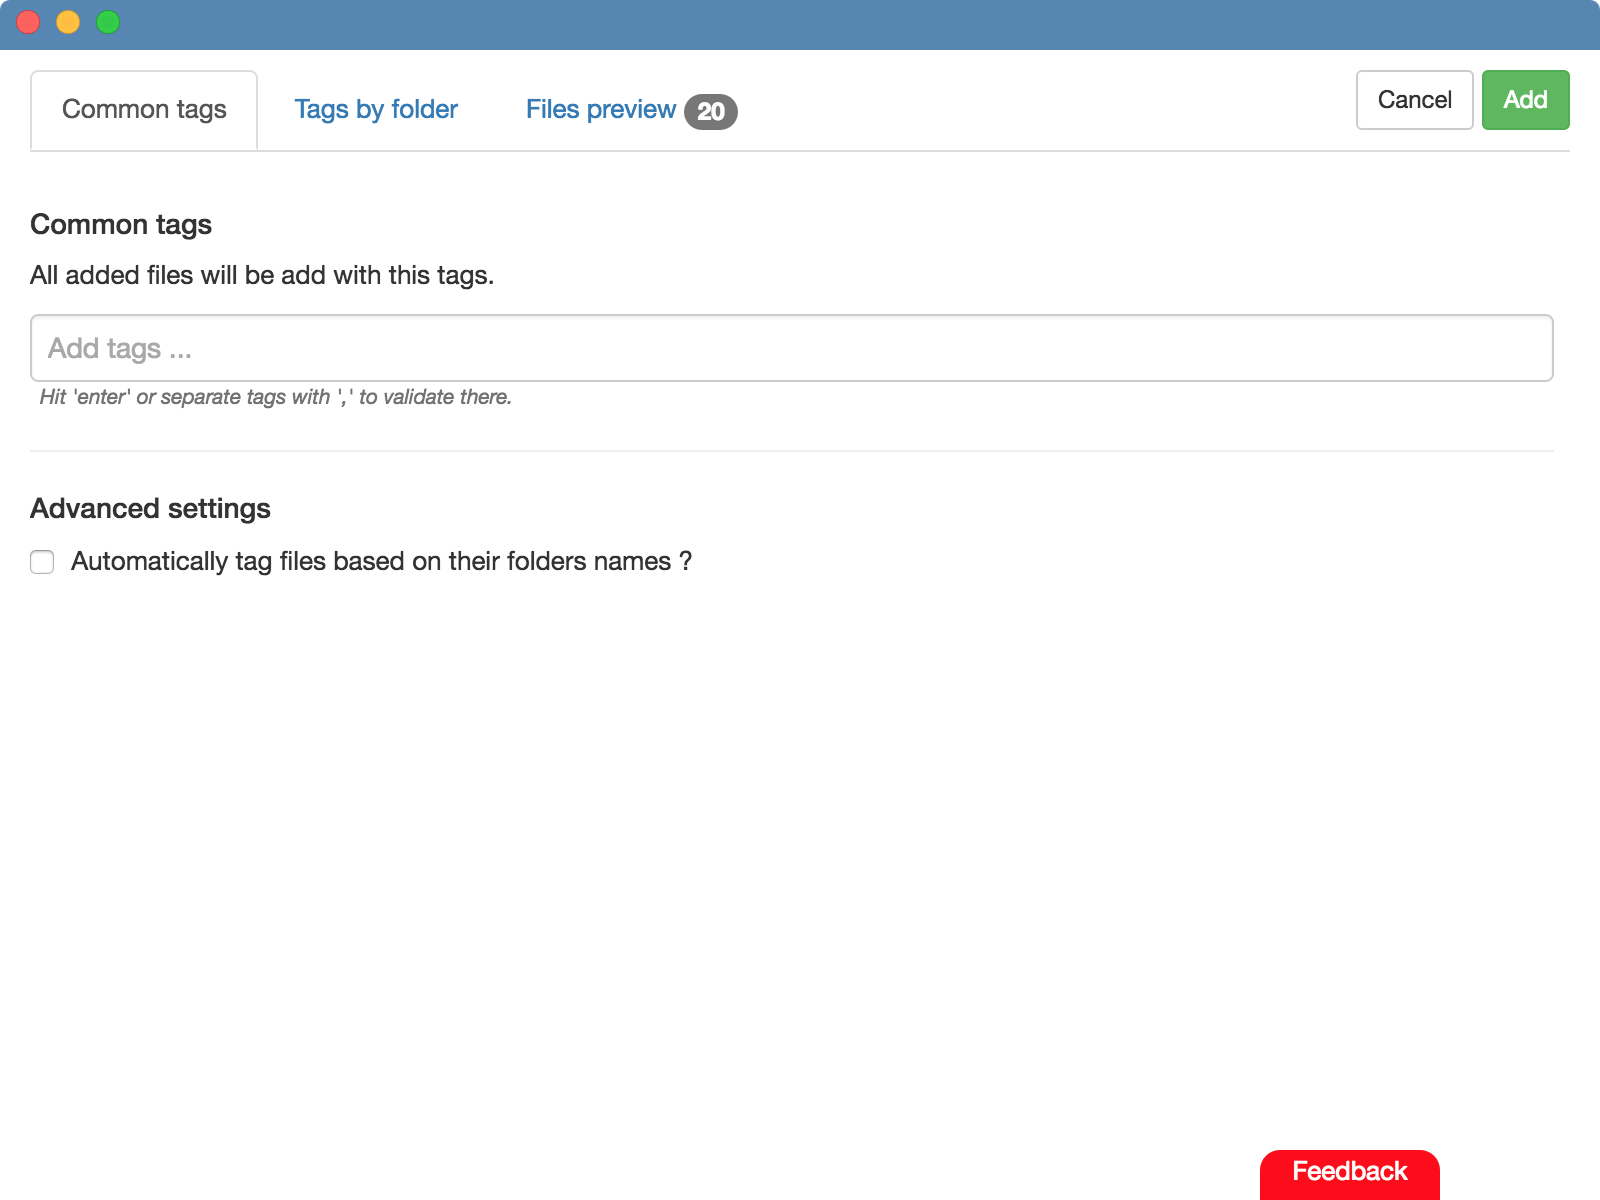
After selecting the files/folders you want to add, you can add tags to them. The first tab allows you to add tags that will be common to all files.
Add Window - Common Tag Tab
Two mechanisms have been used to simplify the sorting of files when adding :
Proposal of tags according to the existing ranking
In this case, some of the files you have already add to TagFlow have the animals tag.
To further simplify the organization of your documents and to simplify as much as possible the addition, the characteristics of each file (such as size, type, modification date, etc.) are transparently added to the system !
In case you add files while the search field of the main window is not empty, TagFlow suggests you to add this search to common tags.
Proposal to add the tags of the current search
Here, we assume that animals and rabbit were in the search field when you started adding files.
This tab is only displayed when more than a folder is selected.
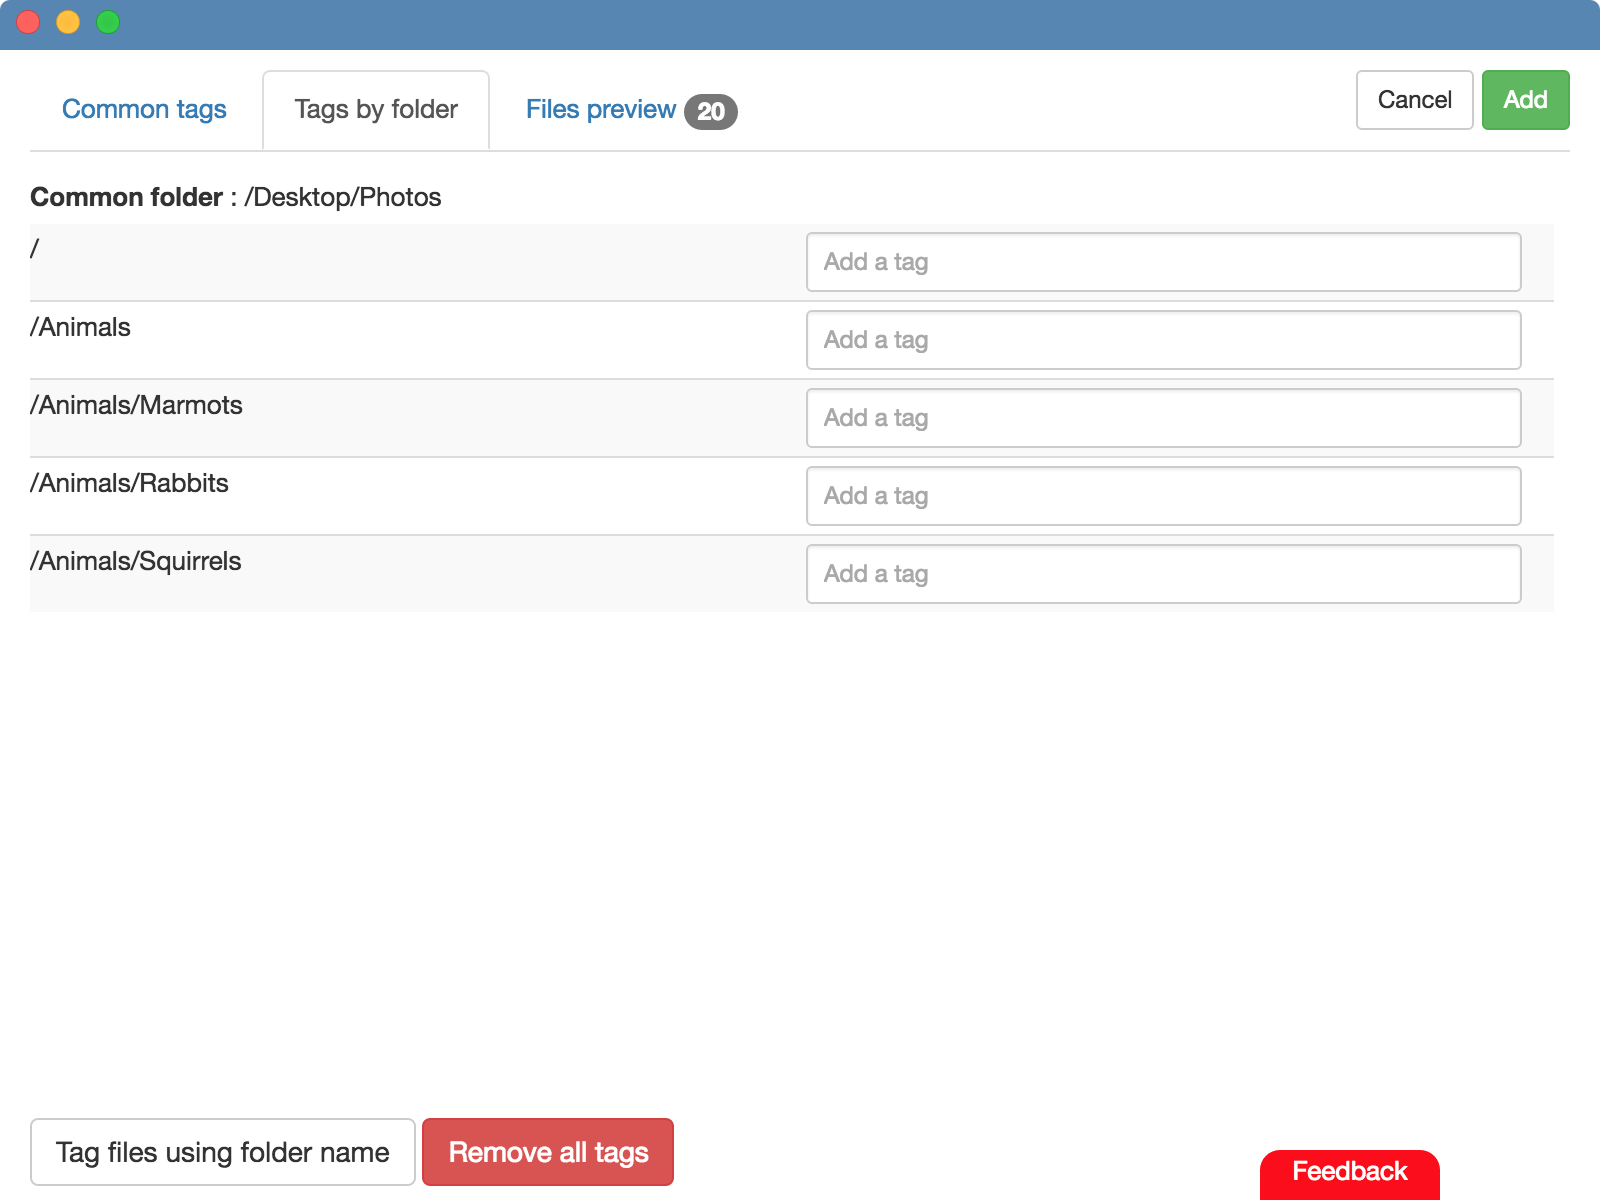
In the next tab, you can add specific tags to all files that are in a folder.
Add Window - Tags by folder Tab
Add Window - Tags by folder Tab with automatic tagging
To simplify adding large amounts of files, it is possible to automatically tag files based on their folders names. To do that, simply use the .
The last tab shows the corresponding files and tags that will be added.
Add Window - File Preview Tab
You can remove files from the list using the button or adding any with the button.
When you are done, click on the button to validate the addition of the files !
Once you have launch the add, you are redirected to the main window and an indicator on the progress of the addition appears above the search bar.
Progress indicator on the current addition
When all the files have been added, you will receive a notification and the new files will automatically appear in the file list !
If you want to know more about how TagFlow is managing your files, you can go to the frequently asked questions (FAQ).
Now that you know how to add files, it's time to find out how to search them !
To search for files, simply enter one or two tags in the search field. TagFlow helps you in several ways during your search :
Each time you enter a tag in the search field, the list of files is updated. The list of tags proposed by the autocompletion and the path of the current files are updated as well.
The 'Path' field is updated according to the search
In the illustration above, we notice that the actual search (path) is done on the tags animals and rabbit whereas only the rabbit tag is searched. Indeed, TagFlow automatically refinees your search if all the files with the rabbit tag also have the animals tag. Note that the searched tags are not displayed in the tags column of the file list to lighten the interface.
In addition to searching by tags, a range of advanced tags is available to help you improve your search :
To use them: simply click on the desired tag to the right in the search field and follow the instructions given.
There is a faster way to do an advanced search. Enter ":" in the search field and the autocomplete will tell you the options available. There is an even faster shortcut for excluding a tag: enter "!" followed by the desired tag in the search field.
We have already seen that it is possible to search with special tags. There is still much more to discover !